
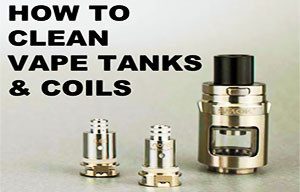
How to Clean a Vape Pen, Tank, Coils and Battery at Home
Posted by Courtney McElligott on Jul 28th 2026
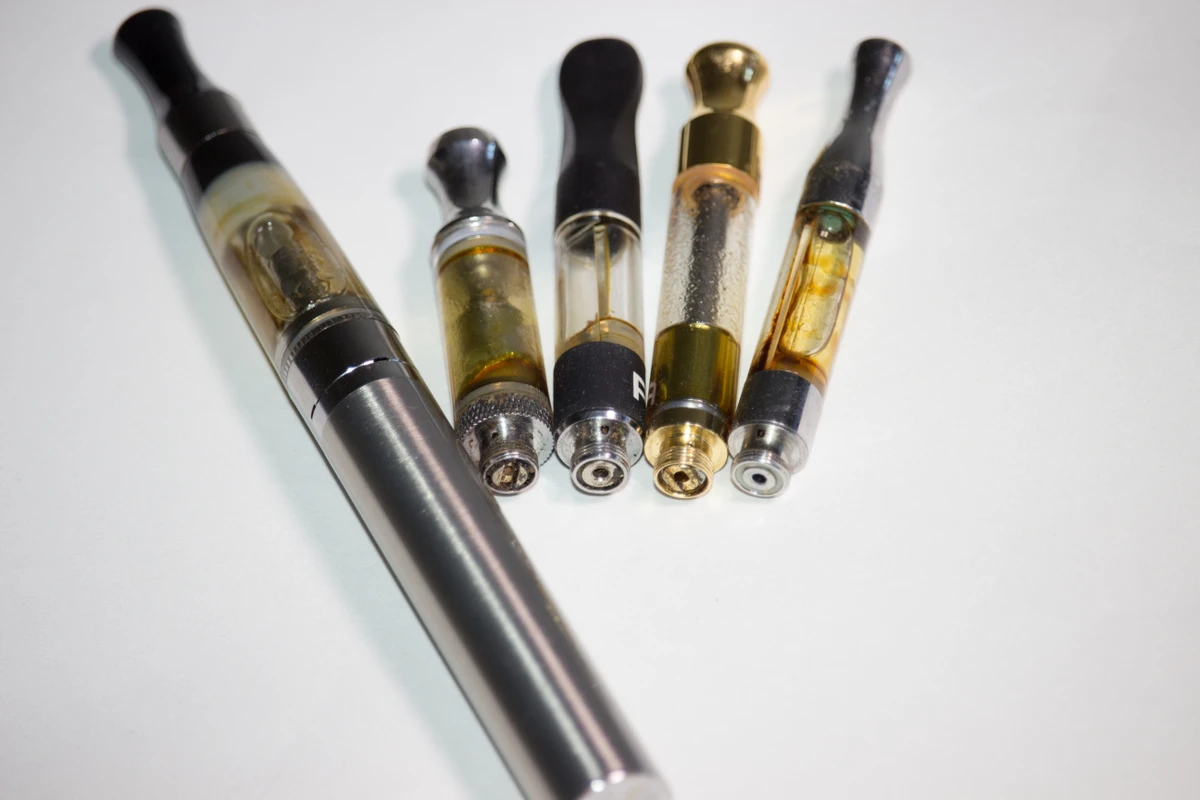
A vape gets dirty in one place you notice immediately and five you never look at. Flavor goes first. Residue from the last juice sits in the tank and bleeds into the next one, so the strawberry kiwi you were looking forward to shows up with last week's dessert flavor underneath it. Then the mechanical side starts. Vapor output drops off, the draw tightens, and the device asks for more effort than it did new.
Almost none of that means the hardware is finished. It is residue, and residue comes off with warm water, a cotton swab, and roughly ten minutes at the sink. Below is the routine we run on our own gear: the tank, the coil, the drip tip, the air holes, the threads, and the battery, plus what changes when you are only switching e-juice flavors rather than doing a full teardown.
Six parts collect the mess, and they are not cleaned the same way:
- The tank body. Rinses under warm water and takes the most abuse.
- The drip tip, which holds more residue than anything else its size.
- The coil. Mostly a replace item, not a wash item.
- Air holes. They clog quietly and you feel it as a tight draw.
- The 510 threads, where sticky juice weakens the connection.
- The battery, which never touches liquid at all.
| Part | What to clean it with | How often |
|---|---|---|
| Tank or clearomizer body | Warm water; a vinegar or alcohol solution for baked-on buildup | Rinse every 2 to 3 refills, teardown weekly |
| Drip tip and mouthpiece | Warm water, or a tissue pulled through it | Wipe daily if you can |
| Coil head | Nothing wet if you plan to keep using it | Replace every 1 to 2 weeks |
| Air holes | A straightened paperclip, then blow it clear | Any time the draw feels tight |
| 510 threads and tank base | Dry cotton swab, or one barely damp with isopropyl | Every coil change |
| Battery | Dry cotton swab only, never liquid | Weekly |
How Often Should You Clean a Vape?
A new device pulls the way it does because nothing has collected inside it yet. That lasts a month or two. After that, condensed juice lines the vapor path, the flavor flattens, and the change is gradual enough that most people adjust to it instead of noticing it.
If you vape daily, plan on a quick rinse every two or three refills and a full teardown once a week. Lighter use stretches that to a teardown every two or three weeks. The rinse is the part that matters most, because it is what stops buildup from reaching the corners you cannot get a brush into.
Taste is a better clock than the calendar. When a juice you know well goes dull, when a full tank puts out less vapor than it should, or when the draw gets tight, the device is telling you it is overdue. Those three signs show up in that order almost every time.
What Should You Clean a Vape With?
Warm water handles the everyday job. Distilled or filtered is better than tap because it dries without leaving mineral spots on glass, but tap water is fine if you dry the parts properly afterward.
Skip dish soap. It cuts residue well and then leaves a film of its own, and you taste that film for the next two tanks. This is the most common cleaning mistake we hear about.
For a thick, dark, high-VG juice that has baked onto the glass, water alone will not do it. Use one of these instead, and only one at a time:
- High-strength isopropyl alcohol. It cuts oily residue and evaporates fast, which is why it is our default for a deep clean.
- Distilled water with a few tablespoons of white vinegar stirred in.
- Plain vodka, which works on the same principle as the isopropyl and is easier on your hands.
- Hydrogen peroxide, used on its own. Do not combine it with anything else on this list.
Whichever you pick, rinse thoroughly with clean water afterward and dry every part before it goes back together. A glass tank section that still smells faintly of vinegar will taste that way too.
How Do You Clean a Vape Tank Step by Step?

Ten minutes of work, most of it waiting.
- Take it apart over a towel. Separate the tank from the battery, unscrew the tank cap, and pour out whatever juice is left. Pull the drip tip and set the rubber gaskets somewhere you will not lose them.
- Lay every part out in order. This sounds fussy until the first time you reassemble a tank from memory and end up with a spare o-ring in your hand.
- Set the coil aside dry. If you plan to keep using it, it does not go anywhere near the water.
- Soak the rest. Heat a bowl of distilled water until it is nearly boiling, add vinegar if the buildup is heavy, and let the glass, the cap, the base, and the mouthpiece sit for 20 minutes. Stir it with a plastic utensil and watch for residue lifting off.
- Scrub. A pipe cleaner, an old toothbrush, a cotton swab, or a soft makeup brush all work. Get every interior surface of the tank and pay extra attention to the mouthpiece, which is where most of the gunk lives.
- Rinse and dry completely. Let the parts air dry if you have the time. If you are in a hurry, wipe with a lint-free cloth or paper towel and make certain no water is sitting in the threads.
- Reassemble and refill. Seat the gaskets, screw the coil in, prime it if it is new, and fill the tank.
The step people skip is the drying. Water trapped in the threads or under the base is how a clean tank turns into a leaking tank two hours later.
How Do You Clean the Battery and the Threads?
The battery is the one part that never gets soaked, rinsed, or dunked. Not briefly, not carefully. Clean the metal contact point at the top with a dry cotton swab, or one barely dampened with high-strength isopropyl, then let it dry fully before anything screws back onto it.
Do the matching thread on the base of the tank at the same time. Juice creeps into that joint on every refill, mixes with whatever is on your hands, and dries into a crust that keeps the two contacts from meeting properly. Most of the "my mod stopped firing the tank" messages we get are a dirty 510 connection and nothing more.
Wipe both surfaces every time you change a coil. It takes ten seconds and it is the single highest-value habit in this whole article.
Do You Need to Clean Between Flavors?
Yes, if you want a fair read on the new juice. Old liquid sits in the tank, in the seals, and in the wick, and the first tank of the new flavor arrives carrying it.
How much cleaning depends on how far apart the two flavors are. Going from one fruit blend to another, a rinse and a thorough dry is enough. Going from a heavy dessert or a rich cream blend to a bright menthol, do the full teardown and plan on a fresh coil, because the wick holds flavor no rinse will pull back out.
Two habits make flavor switching much less of a chore. Keep a second tank so one juice can stay in each, and mark your replacement coil heads with what they last ran so you can put a flavor back on the coil that already tastes like it.
Can You Clean a Coil and Reuse It?
A replaceable coil head can be rinsed, and it buys you very little. Warm water and a long dry will lift some surface gunk and give you a day or two of thin flavor from a tired coil. That is the whole benefit.
Once the cotton has scorched, cleaning does nothing at all. You are tasting carbonized wick, and it does not wash out. If the burnt edge is still there after a clean, the coil was the problem, and how long your coils last comes down to wattage and priming rather than scrubbing.
Pod-style and built-in coils with fixed wicks are worse candidates still. Water tends to ruin them outright. Replace those instead of washing them.
Rebuildable decks are the real exception, because there you throw the old cotton away and wick it fresh. That is replacement, not cleaning.
What Keeps a Setup Clean Between Cleanings?
Clear the air holes when the draw tightens. Ease a straightened paperclip through, then power the device off and blow firmly into the mouthpiece to confirm it is open. Vapor output usually jumps right back.
Do not run the tank low. When the liquid level drops under the wicking ports, the coil fires against starved cotton, which is where most dry hits come from and how a good coil dies early. Top off around a quarter full.
Store the device upright. Left lying down or upside down for hours, juice migrates toward the air holes and weeps out, and then you are cleaning the outside of the clearomizer as well as the inside.
Keep the drip tip clear. Dust settles into a mouthpiece faster than you would think. Pull it, blow through it, rinse it, done.
Your juice needs the same treatment as your hardware. Heat, light, and air are what degrade it, so keep bottles sealed, upright, and somewhere cool and dark. Stored that way, most e-liquid holds up for a year or two. A juice that has gone much darker than it started, or smells sharp when you open it, has oxidized and belongs in the bin rather than in a tank you just spent ten minutes cleaning.
Frequently Asked Questions
How often should I clean my vape?
Rinse the tank every two or three refills and do a full teardown weekly if you vape daily. Lighter use stretches the teardown to every two or three weeks. Let taste decide the rest: dull flavor, less vapor from a full tank, or a draw that has tightened up all mean it is overdue.
What is the best thing to clean a vape with?
Warm distilled water covers everyday cleaning. For baked-on residue, high-strength isopropyl alcohol works fastest because it cuts oily buildup and evaporates without leaving moisture behind. Distilled water with white vinegar, or plain vodka, do the same job more slowly. Avoid dish soap, which leaves a film you will taste for the next two tanks.
Can the battery get wet when I clean my vape?
No. Keep the battery and every other electronic part out of liquid entirely. Clean the metal contact point with a dry cotton swab, or one barely dampened with isopropyl alcohol, and let it dry completely before you screw the tank back on. Wipe the matching thread on the tank base at the same time.
Do I have to clean the tank every time I change flavors?
Between two similar flavors, a warm-water rinse and a full dry is enough. Moving from a heavy dessert or cream blend to something bright, do the whole teardown and fit a new coil, because the wick keeps hold of strong flavors no matter how well you rinse the tank around it.
Can I clean a vape coil and reuse it?
A replaceable coil head can be rinsed and dried, and it might buy a day or two of weak flavor from a tired coil. It cannot undo a burnt wick. Pod-style and built-in coils have fixed wicking that water usually ruins, so replace those rather than washing them.
Why does my vape still taste burnt after cleaning?
Because the coil is spent, not the tank. Scorched cotton keeps tasting scorched however clean the glass is. Fit a fresh coil, prime it with a few drops on the wick, wait five to ten minutes, and check that the tank is not running near empty when you fire it.
These products are intended only for adults 21+. Nicotine is an addictive chemical. This article is general product information and is not a smoking-cessation claim.